
How to Make Sourdough Bread for Beginners: A Complete Step-by-Step Guide
“Sourdough does not need to be complicated.”
This post contains affiliate links. As an Amazon Associate and Amazon Influencer, I earn from qualifying purchases at no extra cost to you.
If you have ever searched for how to make sourdough bread for beginners, you have likely discovered that the internet makes it seem complicated. There are hydration percentages, complex feeding ratios, multiple stretch and folds, and strict fermentation schedules. For someone just starting out, it can feel overwhelming.
The truth is that sourdough does not need to be complicated. At its core, sourdough bread is flour, water, salt, and time. Once you understand what is happening during fermentation and learn how to recognize the signs of readiness, baking sourdough becomes intuitive.
This guide walks you through the entire process in detail. You will learn what sourdough is, what it tastes like, why many people prefer it, how to maintain a starter, how to perform the float test, how to bake a simple loaf, and how to customize it with inclusions.

What Is Sourdough Bread?
Sourdough bread is naturally leavened bread. Instead of using commercial yeast, it relies on a sourdough starter, which is a live culture made from flour and water.
When flour and water are mixed and left at room temperature, wild yeast and beneficial bacteria from the environment begin to grow. Over time, this mixture becomes active and bubbly. The yeast produces carbon dioxide, which makes bread rise. The bacteria produce organic acids, which create flavor and help preserve the loaf.
Unlike commercial yeast bread, sourdough rises slowly. That extended fermentation is what gives sourdough its depth of flavor, improved texture, and many of its nutritional benefits.
What Does Sourdough Taste Like?
Sourdough has a mild tang that sets it apart from standard white bread. That tang comes from lactic acid bacteria produced during fermentation. Depending on how long the dough ferments, the flavor can range from subtle and slightly nutty to more pronounced and sour.
In addition to flavor, sourdough has a distinct texture. The interior is chewy with an open crumb structure, while the crust is crisp and golden. When baked in a Dutch oven, steam creates a blistered, crackly crust that contrasts beautifully with the soft interior.
With a beginner-friendly method like the one in this guide, the flavor remains balanced and approachable, not sharply sour.
The Benefits of Sourdough Bread
Many people choose sourdough for its flavor, but there are also meaningful nutritional and digestive advantages associated with traditional fermentation.
One of the most notable benefits is improved digestion. During fermentation, lactic acid bacteria and natural yeast begin breaking down some of the gluten and starches present in the flour. While sourdough is not gluten-free, the long fermentation process partially breaks gluten proteins into simpler amino acids. Many individuals who experience mild gluten sensitivities, though not celiac disease, report that sourdough feels easier to digest than conventional bread.
The fermentation process also supports gut health. The lactic acid bacteria involved in sourdough fermentation produce compounds known as probiotics and postbiotics. While baking kills live probiotics, the beneficial byproducts remain. These compounds may help support a healthy gut microbiome.
Sourdough also has a lower glycemic index compared to conventional white bread. Fermentation alters the structure of carbohydrates, resulting in a slower and more gradual rise in blood sugar. This steady energy release can help reduce energy crashes associated with highly processed breads.
Another important benefit is increased nutrient absorption. Grains naturally contain phytic acid, which can bind to minerals like iron, zinc, and magnesium and limit their absorption. Fermentation reduces phytic acid levels, increasing the bioavailability of these essential minerals.
Sourdough contains higher levels of antioxidants than standard bread, which may help combat oxidative stress in the body. It is also free from the preservatives and additives often found in commercial loaves. Traditional sourdough contains only flour, water, salt, and starter.
How to Feed and Maintain a Sourdough Starter
A healthy starter is the foundation of sourdough bread.
I feed my starter using a simple 1:1:1 ratio by volume:
1 part starter
1 part all-purpose flour
1 part water
After feeding in the morning, my starter typically doubles in size by mid-afternoon. It becomes airy, bubbly, and slightly domed at the top. This is when it is ready to use in a recipe.
The Float Test
To test readiness, you can perform the float test. Fill a small bowl with water and gently drop a spoonful of starter into it. If it floats, it is ready to bake with. Floating indicates that the starter is filled with trapped gas from fermentation.
While helpful, the float test is not perfect. A starter that has visibly doubled in size and is bubbly is often ready even if it does not float perfectly.
How to Store and Maintain Your Starter
If you bake frequently, keep your starter on the counter and feed it daily. Discard a portion before each feeding to maintain balance.
If you bake occasionally, you can store your starter in the refrigerator. After feeding, allow it to begin rising, then refrigerate. Feed it about once per week while chilled. When ready to bake, remove it from the fridge, feed it, and allow it to become active and doubled before mixing dough.
This flexibility makes sourdough manageable even for busy schedules.

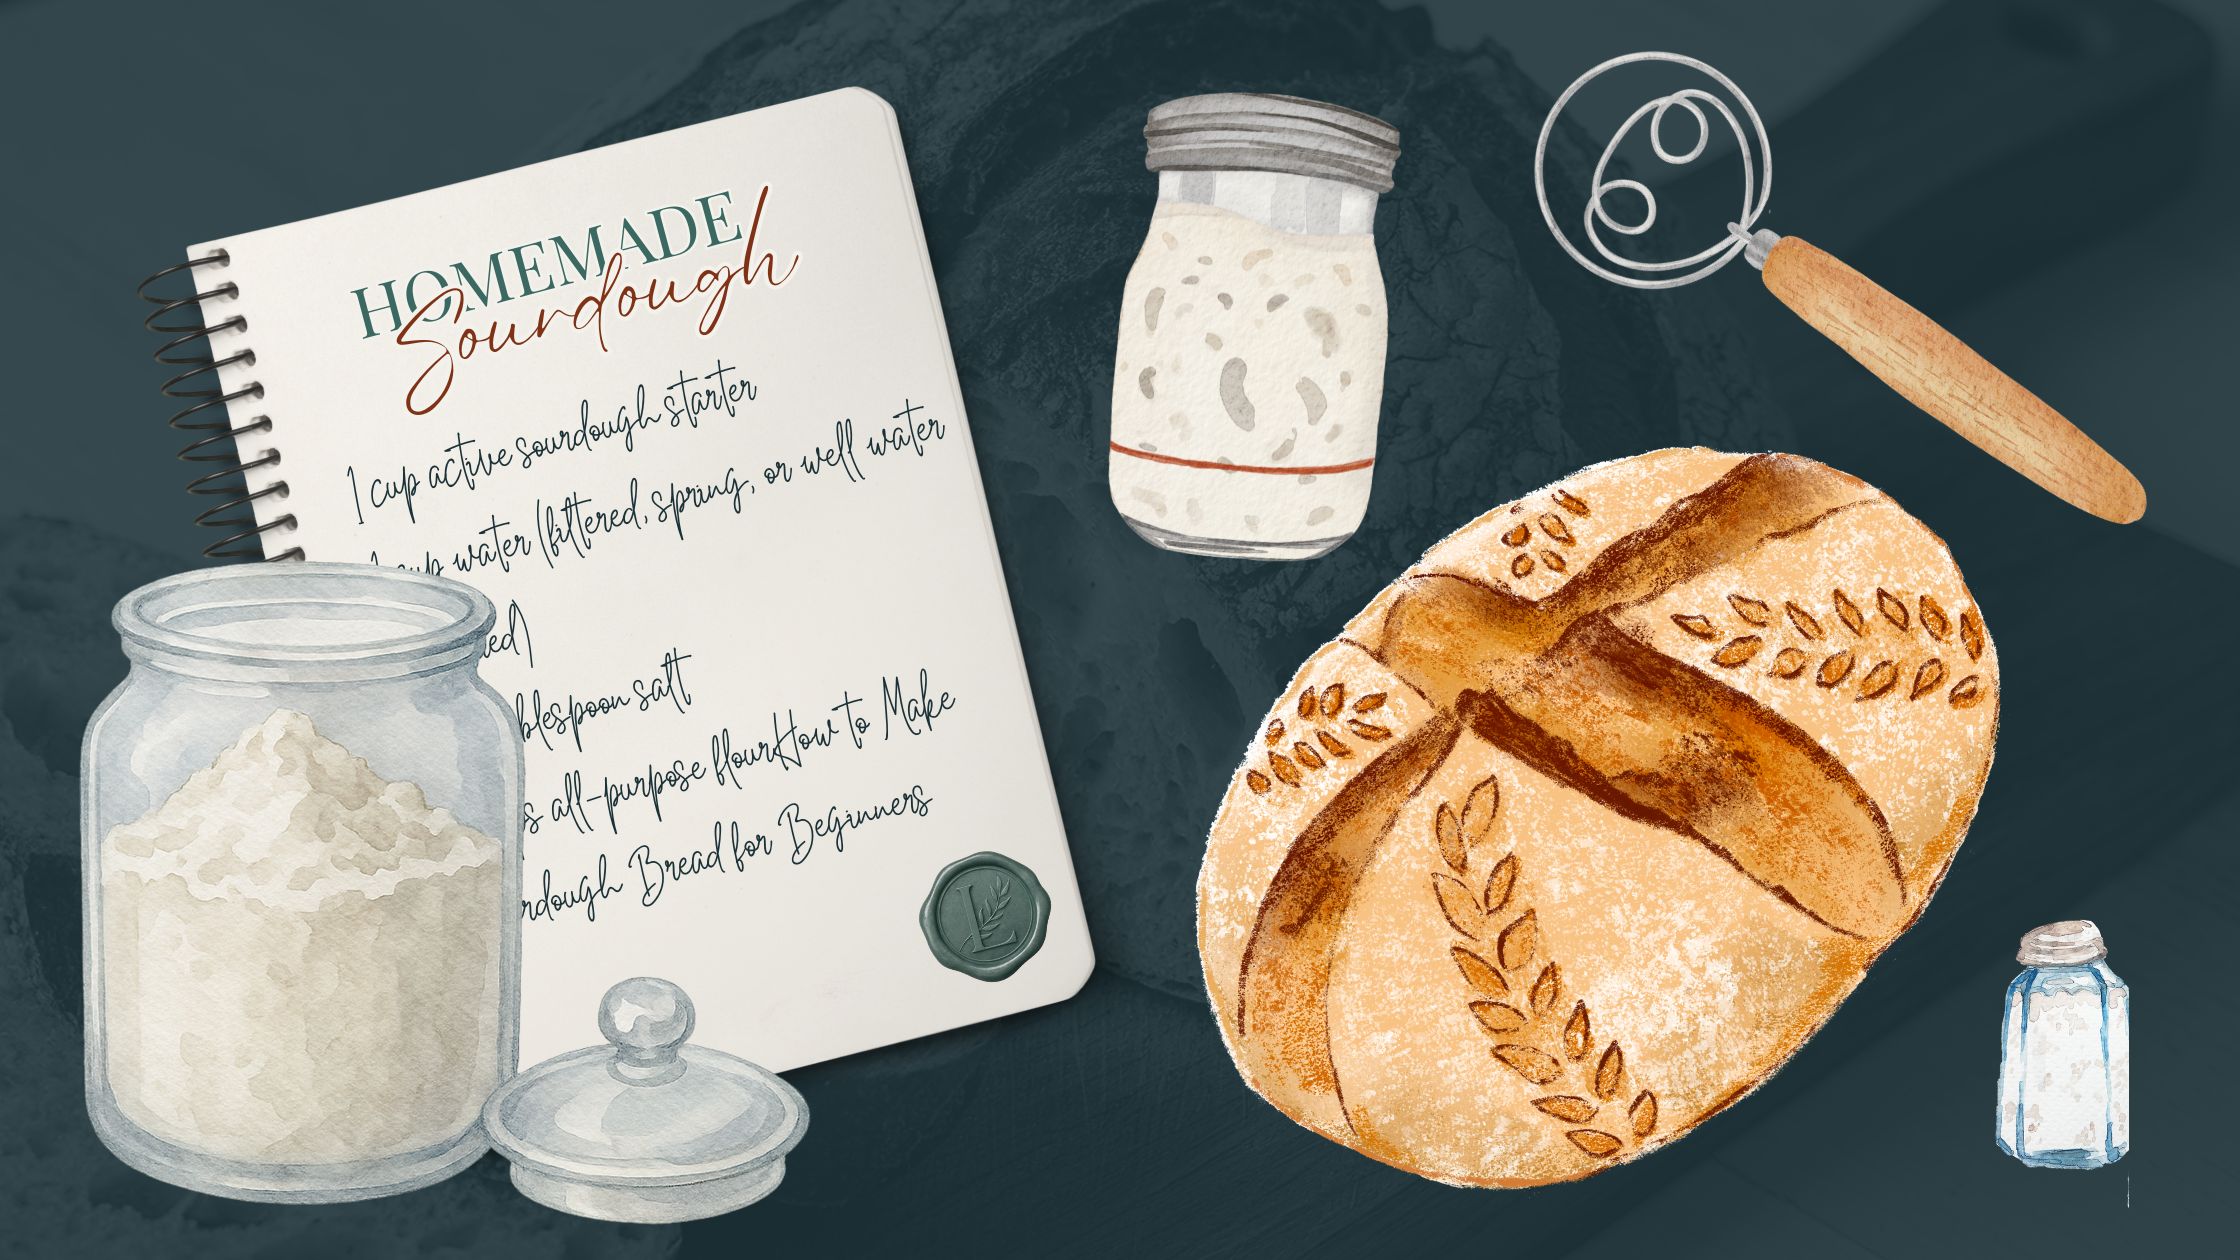
Recipe: Sourdough Bread for Beginners
This beginner sourdough recipe is intentionally uncomplicated. It uses basic measurements and requires only one stretch and fold.
Ingredients
1 cup active sourdough starter
1 cup water (filtered, spring, or well water preferred)
3/4 tablespoon salt
3 cups all-purpose flour
Mixing the Dough
In a large bowl, combine the active starter, water, and salt. Mix thoroughly using a dough whisk until dissolved. Add the flour and mix until incorporated.
Begin kneading by hand. Feeling the dough helps you understand hydration. Add water gradually if needed. The dough should be moist and shaggy, but not wet or sticky. It should hold together without clinging heavily to your hands. You may need up to an additional 1/4 cup of water, but add slowly.
Let the dough rest uncovered for 20 minutes. This short rest allows the flour to hydrate and begins gluten development.
The Single Stretch and Fold
Perform one stretch and fold. Lift one side of the dough, stretch it upward, and fold it into the center. Rotate the bowl one quarter turn and repeat until you have completed four folds.
Cover the bowl and let the dough sit at room temperature for 5 to 7 hours. The exact time depends on your home’s temperature. The dough is ready when it has doubled in size and feels light and airy.
Shaping the Dough
Turn the dough onto a lightly floured surface. Fold it into thirds, then roll and tuck the edges underneath. Spin and gently pull the dough toward you to create surface tension. A smooth, tight surface helps the loaf rise upward instead of spreading outward.
Place the dough upside down into a floured banneton.
Cold Proofing
Cover and refrigerate the dough overnight for 10 to 12 hours. Cold proofing deepens flavor and makes scoring easier.
Baking
Preheat your Dutch oven to 450°F. Turn the dough out onto parchment paper. Score the top using a bread lame. Place the dough into the hot Dutch oven with the parchment underneath.
Bake for 30 minutes with the lid on, then 20 to 30 minutes with the lid off until golden brown.
Allow the loaf to cool on a rack for at least one hour before slicing. Cutting too early can result in a gummy interior.
Adding Inclusions to Your Sourdough
Once you master the basic loaf, you can customize it.
Popular Inclusion Ideas
Cheddar cheese
Jalapeño
Roasted garlic
Fresh rosemary
Dried cranberries
Cinnamon and raisins
Sun-dried tomatoes
Olives
Everything bagel seasoning
You can add inclusions during your stretch and fold by gently incorporating them into the dough. Alternatively, flatten the dough slightly during shaping, sprinkle inclusions evenly across the surface, then fold and shape. For beginners, adding during shaping often provides more control and even distribution.
5 Essential Tools for Homemade Sourdough


Dutch Oven
A Dutch oven traps steam during baking, allowing the loaf to expand fully and develop a crisp crust. Look for heavy construction and a tight-fitting lid.

Dough Whisk
A dough whisk mixes starter and flour efficiently without overworking the dough.

Bread Lame
A bread lame allows precise scoring to control how the loaf expands.

Banneton
A banneton supports the dough during proofing and helps maintain shape.

Bread Knife
A serrated bread knife ensures clean slices without compressing the crumb.
Frequently Asked Questions About Sourdough Bread for Beginners
How long does it take to make sourdough bread for beginners?
Sourdough bread typically takes about 24 hours from start to finish, but most of that time is hands-off fermentation. In this beginner method, you mix the dough in the afternoon, let it bulk ferment for 5 to 7 hours, refrigerate overnight, and bake the next morning. Active working time is minimal, usually under 30 minutes total.
Why didn’t my sourdough bread rise?
The most common reason sourdough bread does not rise is an inactive starter. Your starter should double in size after feeding and appear bubbly before using it in dough. Other reasons may include under-fermentation, over-fermentation, or shaping without enough surface tension. Room temperature also plays a large role. Cooler homes require longer fermentation times.
Do I need bread flour to make sourdough?
No. This beginner sourdough recipe uses 100 percent all-purpose flour successfully. While bread flour contains more protein and may create a slightly chewier texture, beginners can achieve excellent results with standard unbleached all-purpose flour.
Is sourdough bread gluten-free?
Sourdough is not gluten-free. However, the long fermentation process breaks down some of the gluten into amino acids, which can make it easier to digest for people with mild sensitivities. It is not safe for individuals with celiac disease.
How do I know if my sourdough starter is ready to bake with?
Your starter is ready when it has doubled in size after feeding and is full of bubbles. The float test can also help. Drop a spoonful of starter into water. If it floats, it is usually ready to bake with. Even if it does not float perfectly, a doubled and bubbly starter is often active enough.
Why is my sourdough bread gummy inside?
A gummy interior is usually caused by slicing the bread too early or underbaking. Sourdough continues setting as it cools. Always let your loaf cool for at least one hour before cutting into it. If needed, extend baking time by 5 to 10 minutes to ensure the center is fully baked.
How often should I feed my sourdough starter?
If stored on the counter, feed your starter daily. If stored in the refrigerator, feed it once per week. Before baking, remove it from the fridge, feed it, and wait until it doubles in size before using.
Can beginners add mix-ins to sourdough?
Yes. Once you are comfortable with the basic loaf, you can add inclusions like cheese, herbs, olives, roasted garlic, dried fruit, or seeds. Add them during your stretch and fold or fold them in during shaping for better control.
Why does sourdough bread taste sour?
The tangy flavor comes from lactic acid bacteria produced during fermentation. Longer fermentation times increase acidity and sourness. A shorter fermentation produces a milder flavor.
What is the easiest way to bake sourdough at home?
The easiest method for beginners is baking in a preheated Dutch oven. The enclosed environment traps steam, allowing the bread to expand properly and develop a crisp crust without special equipment.